Step 1: Create a New Group
1. Open the Wesplit App: Open Wesplit on your device and navigate to the dashboard.
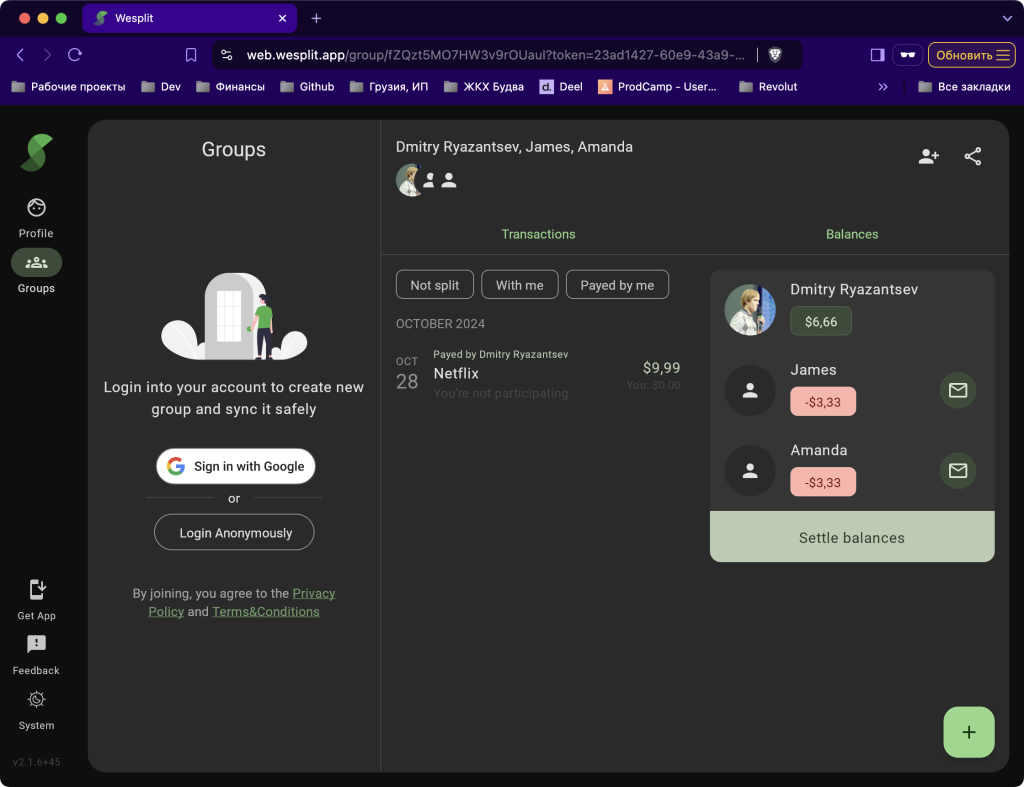
2. Login into the account: In order to create new Group you should have an account in the service.
2. Select “Create New Group”: Tap on the option to create a new Group. This will allow you to set up a fresh Group for managing shared expenses.
3. (Optional) Name Your Group: Give your Group a unique name that’s easy to recognize, such as “Beach Trip 2024” or “Household Bills.” You could skip this step – in this case the visual name of the Group will be just participants joined to string by comma.
4. (Optional) Add Picture to make it unique: You could optionally add image (preferably PNG) to make your Group stand out from the Group list. Group image requires Plus subscription.

Step 2: Add Users to the Group
Wesplit lets you add users in a way that’s simple and hassle-free:
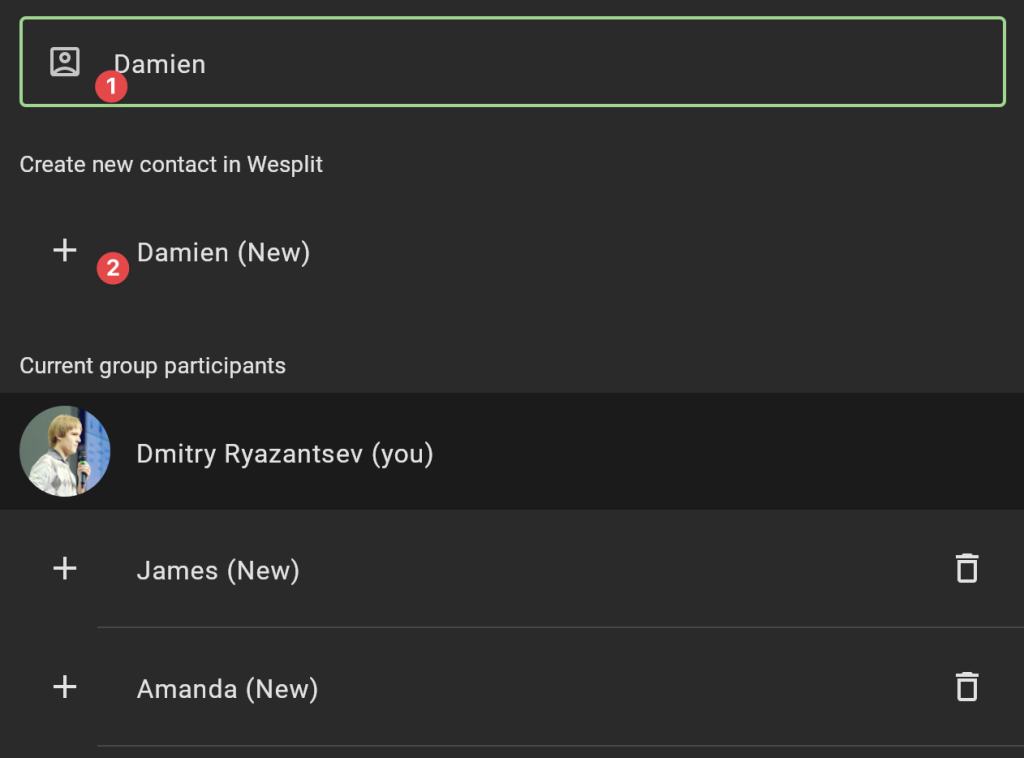
1. Add Users by Name: You can add Group members just by their names—no need for emails or phone numbers upfront. This is particularly helpful for quick setups, like spontaneous gatherings or shared costs among close friends.

1 – type the name
2 – add new user to the Group
Step 3: Share a Group Link
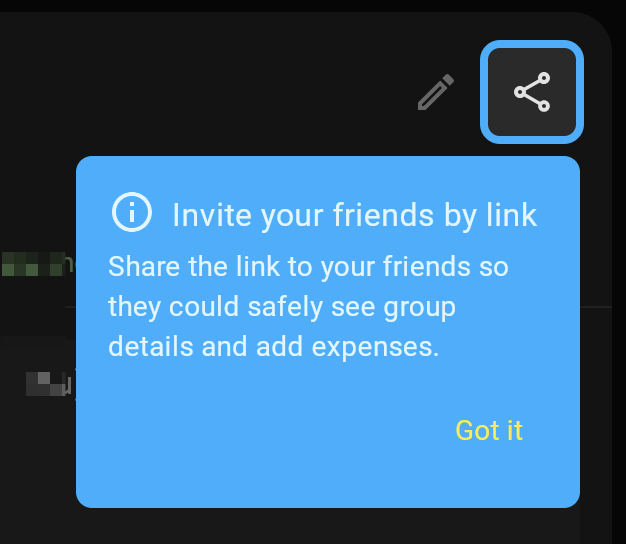
Wesplit provides a shareable link, allowing others to join and view the Group details. Here’s how:
1. Generate the Link: In the Group settings, select “Share Group Link.” Wesplit will generate a unique, secure link for your Group.

2. Share the Link: Copy the link and send it to the Group members via text, email, or your preferred messaging app.
3. Contributing via Link: Anyone with this link can securely access the Group, view existing expenses, and even log new ones.

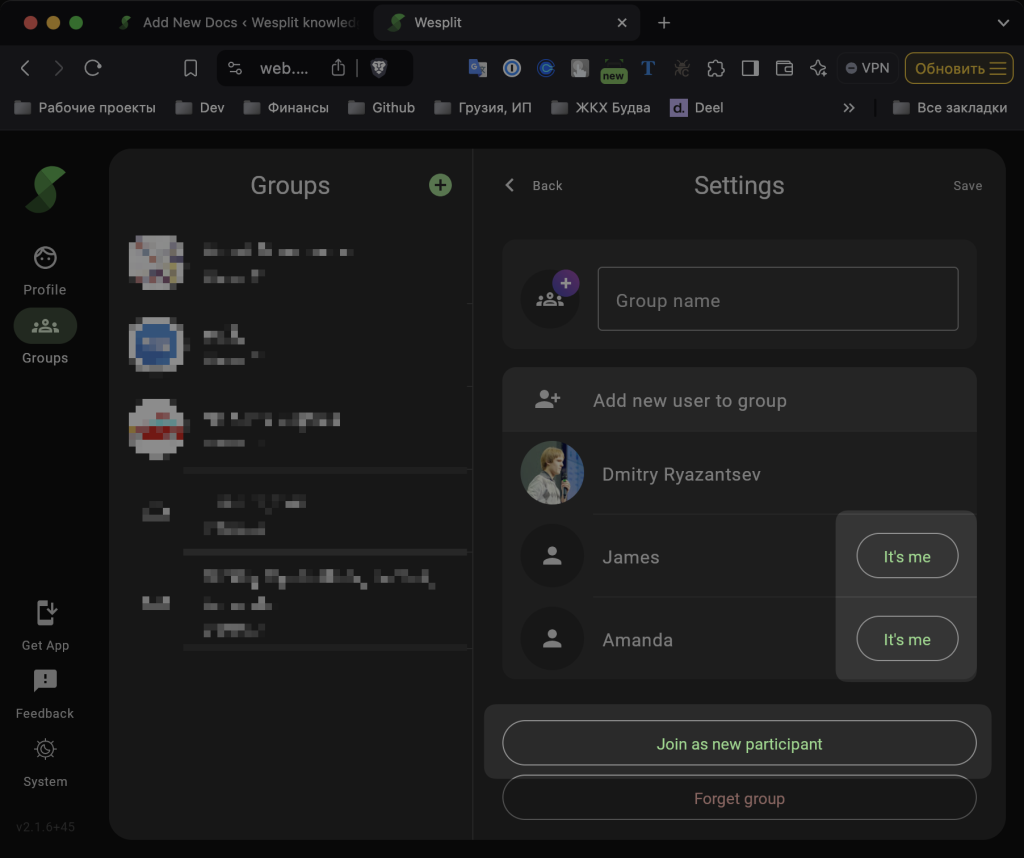
4. (Optional) Joining via Link: User who access Group by link and has account in Wesplit could join as new Participant or as a already created but not yet linked Participant.


